Discover amazing discounts on sewing patterns-Fabric-Doll CLothes-eBooks-Yarn-& Other Handmades!
🧵 How to Sew DIY Fabric Weights
Sew your own DIY fabric weights with rice and scraps. A simple, useful project to replace pins and organize your sewing space.
DIY SEWING
R. Harris
6/26/20252 min read
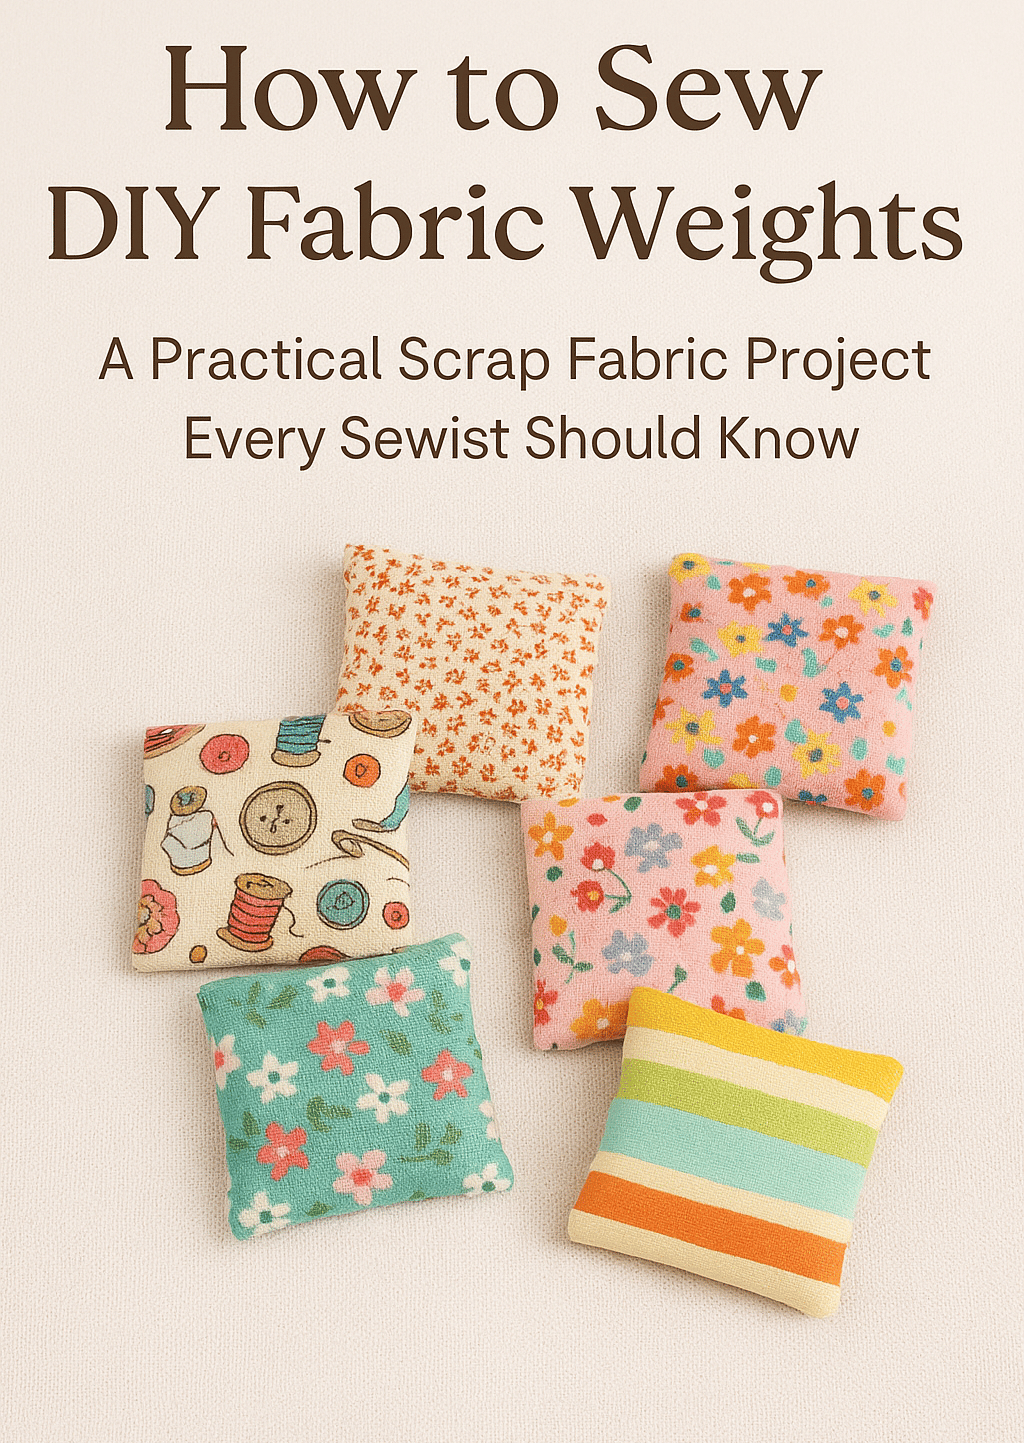
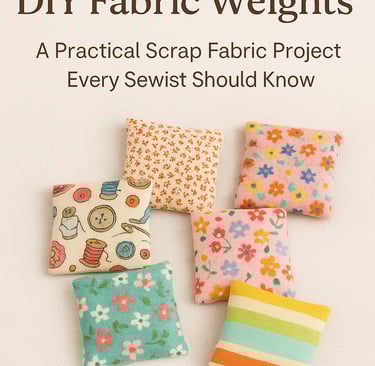
A Practical Scrap Fabric Project Every Sewist Should Know
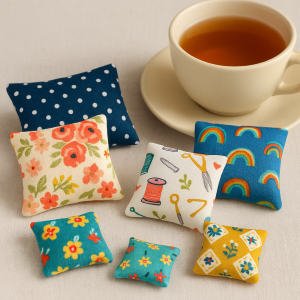
When you’re cutting out a sewing pattern or working with delicate fabric, the last thing you need is a pile of pins slowing you down or distorting your material. That’s where fabric weights come in — they hold your fabric flat and steady without piercing or shifting it. So pour a cup of tea and let's get started on colorful and fun DIY Fabric Weights for your sewing room!
And there’s more good news: you don’t need to buy them.
DIY fabric weights are simple to make, cost nothing if you have scraps and rice on hand, and store easily when not in use.
🧷 Why Use Fabric Weights Instead of Pins?
Protects delicate or slippery fabric (no pin holes or shifting)
Speeds up cutting with rotary cutters or scissors
Reduces distortion in knits, silks, or other fussy materials
Easier to move and reposition while laying out patterns
✂️ How to Make DIY Fabric Weights
✅ Supplies Needed:
Scrap fabric (cotton, broadcloth, quilting cotton, etc.)
Thread
Dry rice (uncooked)
Scissors or rotary cutter
Sewing machine or needle
Funnel (optional but helpful)
Zip-top bags for storage
📏 Size Guide:
Each weight can be small and flexible, around 2"–3" square or rectangular. You can also make small rice-filled tubes or even triangle-shaped weights — whatever fits your sewing setup.
🧵 Step-by-Step Instructions:
Cut your fabric
Cut two matching pieces of scrap fabric into 3" squares or rectangles. Avoid using fabrics that cling to your project fabric — smooth cottons work best.
Sew around the edges
Place right sides together and sew with a ¼" seam allowance, leaving a 1" opening on one side.
Turn right side out
Turn your fabric pouch right side out. Use a blunt tool to push out the corners.
Fill with rice
Use a small funnel or spoon to fill the pouch about ¾ full with dry rice. Don’t overfill — you want the weight to stay soft and moldable.
Close the opening
Hand-stitch or topstitch the opening closed securely.
Repeat
Make as many as you like. Most sewists find 4 to 8 weights sufficient, but more is always helpful!
🧺 Storage Tips:
DIY fabric weights are easy to store — they naturally conform to drawers, baskets, or shelves.
To protect them from moisture or spills in your sewing area, keep them in a zip-top bag or a sealed container. They’ll stay clean and last longer.
🪡 Extra Tips:
You can scent the rice lightly with lavender or essential oils if you'd like a pleasant aroma in your sewing drawer.
For a smoother finish, consider using serger scraps or leftover binding for outer fabric.
You can even personalize the weights by adding decorative stitching or using themed fabrics (like sewing notions, florals, etc.).
DIY fabric weights are one of those: Why didn’t I do this sooner? Projects. They save time, protect fabric, and put your scraps to good use — all while keeping your sewing space more functional. There’s no need to buy fancy weights when you can whip up your own with what you already have.

Curated Sewing Goods Online – Based in the USA
Reach Out Contact Me
rhonda@theneedlemarket.com
Proudly powered by Hostinger
Start your own site with Hostinger

