Discover amazing discounts on sewing patterns-Fabric-Doll CLothes-eBooks-Yarn-& Other Handmades!
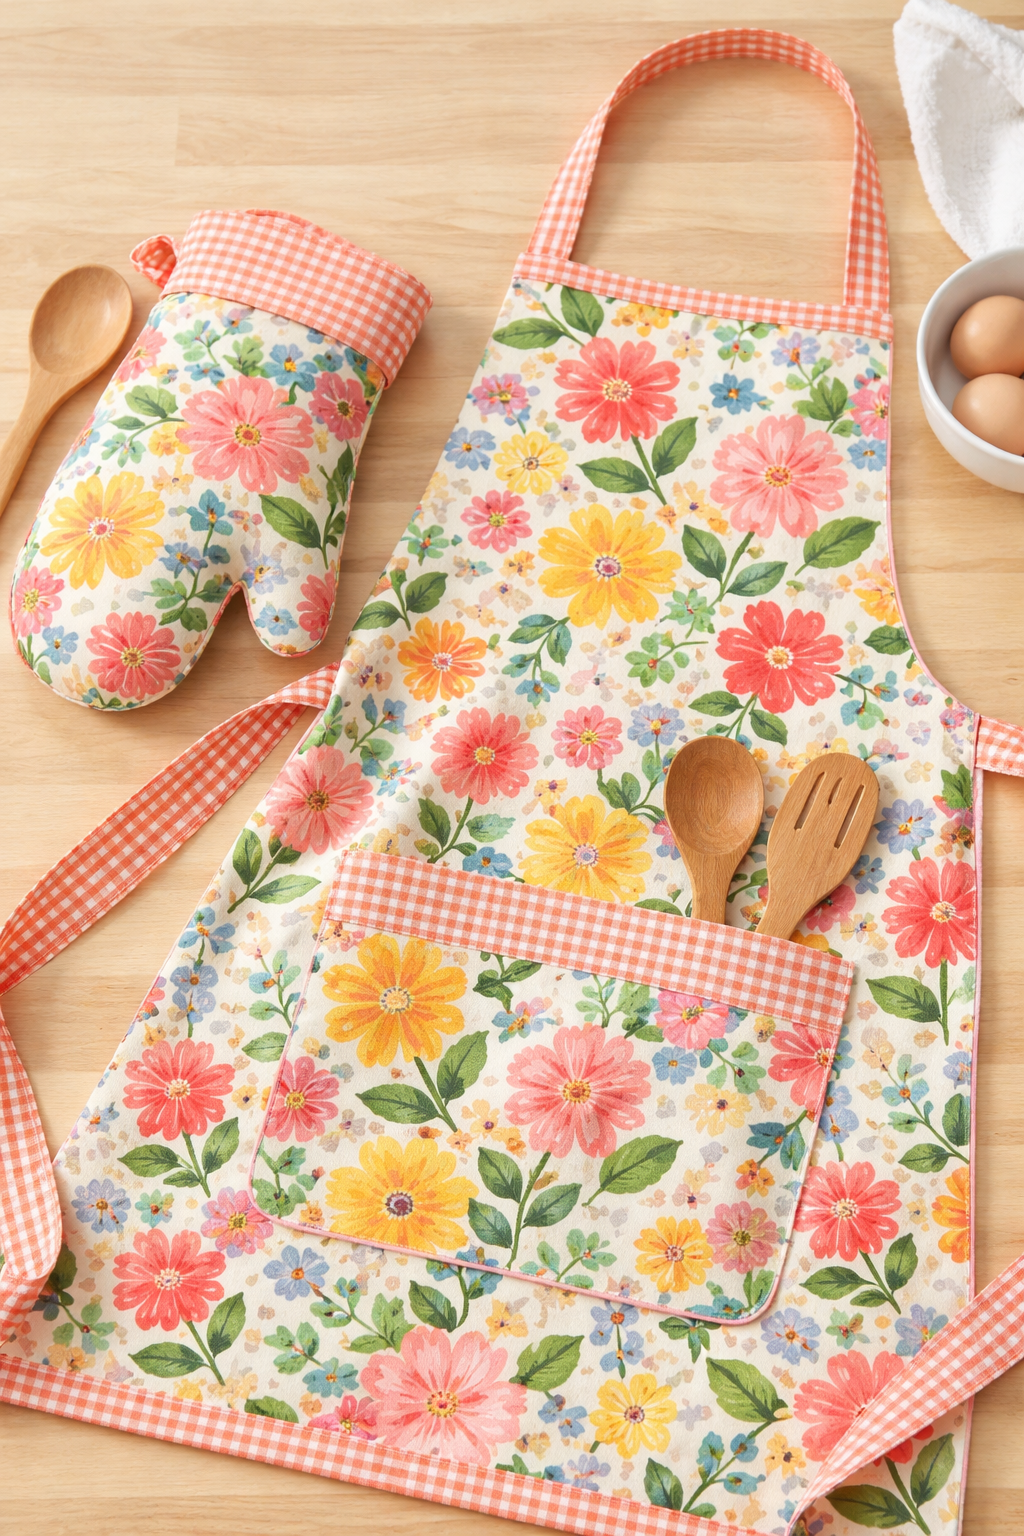
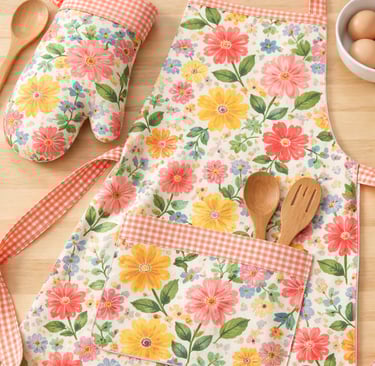
DIY Lined Oven Mitt & Matching Fully Lined Apron
Learn how to sew a lined oven mitt and a fully lined apron with a front pocket using woven fabrics, cotton batting, and basic sewing notions.
DIY SEWING
Rhonda Harris
1/29/20262 min read
A Practical Sewing Project Using Woven Fabric
Why Sew a Matching Oven Mitt & Apron Set?
This is one of those sewing projects that earns its keep. A lined oven mitt protects your hands properly, and a fully lined apron holds up to daily kitchen use without twisting, sagging, or wearing thin.
Both projects are:
Beginner-friendly
Stash-friendly
Useful year-round
Excellent handmade gifts
PART 1: DIY LINED OVEN MITT
Materials
Exterior woven fabric (cotton or canvas)
Lining fabric (cotton)
1–2 layers of cotton batting
All-purpose thread
Optional: hanging loop fabric
Cutting
Trace an oven mitt shape (your hand plus 1" ease all around).
Cut:
2 exterior pieces
2 lining pieces
2 batting pieces
Step-by-Step Instructions: Oven Mitt
Step 1: Layer the Pieces
For each side of the mitt, layer in this order:
Exterior fabric (right side down)
Batting
Lining fabric (right side up)
You’ll have two quilted panels when finished.
Step 2: Quilt the Layers (Optional but Recommended)
Quilt straight lines or a simple grid across each layered panel.
This prevents the batting from shifting and adds durability.
Step 3: Assemble the Mitt
Place the two quilted panels right sides together.
Pin or clip around the edges.
Stitch around the mitt using a ½" seam allowance, leaving a 3–4" opening at the bottom.
Step 4: Clip & Turn
Clip curves carefully (do not cut through stitches).
Turn the right side out.
Push out curves gently.
Step 5: Finish
Press well.
Fold the opening inward and topstitch around the entire mitt.
Optional: Insert a hanging loop at the opening before topstitching.
Set the oven mitt aside.
PART 2: FULLY LINED APRON WITH LINED FRONT POCKET
Materials
Exterior apron fabric
Lining fabric
Matching or contrast pocket fabric
Thread
Optional: bias tape or twill tape for ties
Cutting the Apron
You’ll need:
1 apron front (exterior)
1 apron front (lining)
2 pocket pieces (same size)
2–4 apron ties (fabric strips or twill tape)
Step-by-Step Instructions: Apron
Step 1: Sew the Lined Pocket
Place the two pocket pieces right sides together.
Stitch around the pocket, leaving a small opening at the bottom.
Turn the right side out and press.
Topstitch the pocket opening closed.
Step 2: Attach Pocket to Apron Front
Position the pocket on the right side of the apron exterior.
Stitch the sides and bottom of the pocket to the apron.
Reinforce top corners with a short backstitch.
Step 3: Prepare the Ties
Fold fabric strips lengthwise, right sides together.
Stitch, turn, and press — or use ready-made twill tape.
Step 4: Assemble Apron Layers
Place the apron exterior and lining right sides together.
Insert ties between layers at the waist and neck, pointing inward.
Pin around the apron, leaving a 4–5" opening at the bottom.
Step 5: Stitch & Turn
Stitch around the apron perimeter.
Clip curves and corners.
Turn the right side out and press thoroughly.
Step 6: Finish the Apron
Topstitch around the entire apron to close the opening.
Secure ties with reinforced stitching.
Fabric Pairing Ideas
Matching print for apron and mitt
Solid apron with printed pocket and mitt
Denim apron with cotton lining
Seasonal prints for holidays
Using leftovers from one project to make the other keeps the set coordinated without buying extra fabric.
Why This Project Works So Well
No fitting stress
Uses everyday sewing skills
Makes a practical, durable item
Perfect for gifting or selling
This is the kind of project sewists repeat again and again with different fabrics.
If you enjoy sewing practical, well-constructed projects like this, explore my sewing PDFs at my Payhip Shop and patterns for more everyday sewing ideas designed to be used—not stored.
Curated Sewing Goods Online – Based in the USA
Reach Out Contact Me
rhonda@theneedlemarket.com
Proudly powered by Hostinger
Start your own site with Hostinger

