Discover amazing discounts on sewing patterns-Fabric-Doll CLothes-eBooks-Yarn-& Other Handmades!
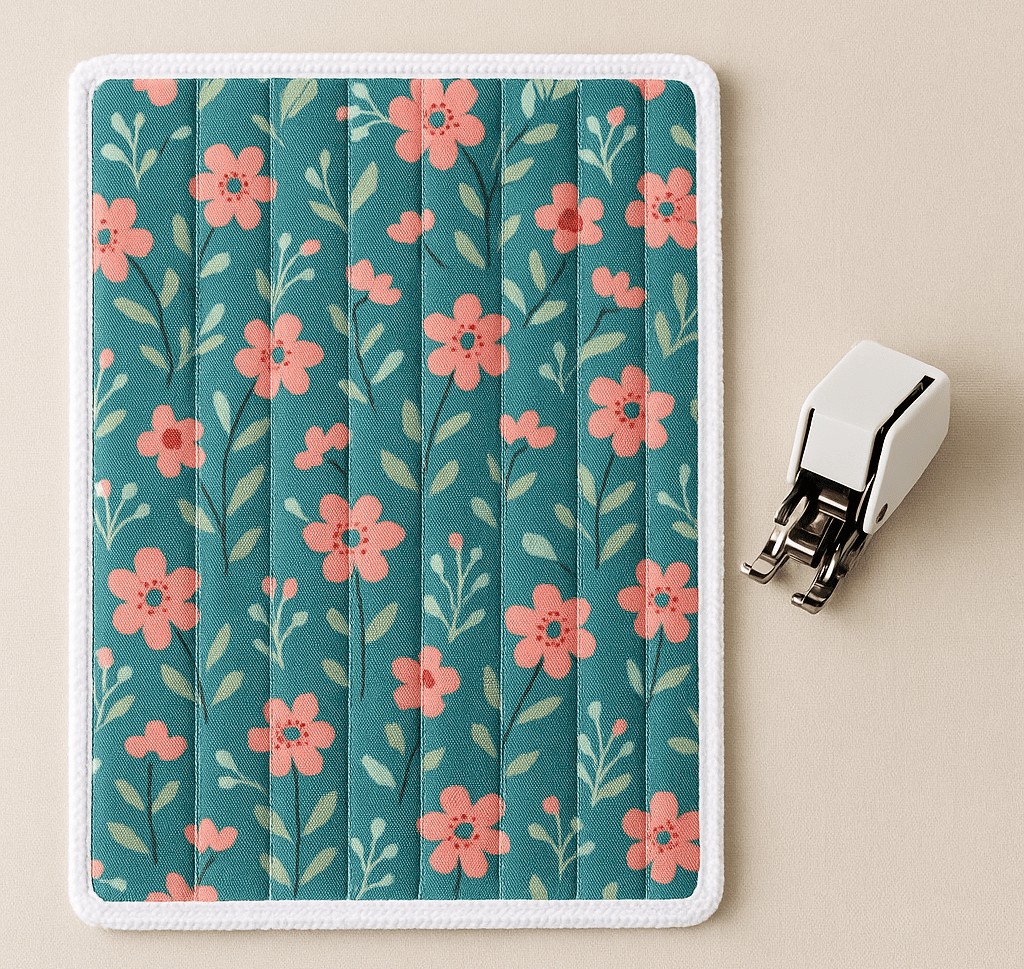
How to Sew a DIY Kitchen Drying Mat Using A Walking Foot
A Beginner-Friendly Quilting Project to Practice Layered Sewing with a Walking Foot
SEWING TIPS AND TECHNIQUES
R. Harris
6/19/20255 min read
A Beginner-Friendly Quilting Project to Practice Layered Sewing with a Walking Foot
If you're looking for a beginner-friendly sewing project that’s both practical and a great way to practice your walking foot skills, a DIY kitchen drying mat is a fantastic choice. It's not only functional for air-drying your dishes, but also allows you to work with layered fabrics and learn how your sewing machine’s feed dogs and walking foot make all the difference when sewing multiple layers or working with stretchy fabrics like knits. Not only do you get practice with a walking foot, but your kitchen drying mats are a practical and functional kitchen utensil.
In this tutorial, I'll guide you step-by-step on how to make a custom drying mat for your kitchen—and I’ll also explain how feed dogs function, why they matter, and how to work with them to get great results on all kinds of fabrics.
Part 1: How to Sew a DIY Kitchen Drying Mat
✂️Supplies You’ll Need:
Top layer: Quilting cotton or cotton blend (18” x 24”)
Middle layer (optional): Cotton batting or Insul-Bright (for extra absorbency)
Bottom layer: Terry cloth, microfiber towel, or a repurposed bath towel (18” x 24”)
Thread: All-purpose polyester or cotton thread
Pins or clips
Sewing machine with feed dogs
Walking foot for even feed
Rotary cutter or scissors
Measuring tape
Iron
Step-by-Step Instructions:
1. Cut Your Fabric
Cut your top fabric, backing fabric, and batting (if using) to about 18” x 24”. You can adjust this size based on your kitchen counter space.
2. Layer the Mat
Place the layers in this order:
Bottom: Terry cloth or towel (right side down)
Middle: Batting or Insul-Bright
Top: Cotton fabric (right side up)
Use pins or sewing clips to hold all layers together.
3. Quilt the Layers
This step secures all the layers and adds texture.
Use a walking foot for best results when quilting through multiple layers. It works with your feed dogs to move the fabric smoothly without shifting or stretching.
Feed dogs—those little metal teeth under your presser foot—pull the bottom layer through. Combined with your walking foot, they help move all layers evenly.
Sew straight lines about 2–3 inches apart across the mat. You can go vertical, horizontal, or diagonal. Quilt as much or as little as you like, depending on your style.
Tip: Start quilting in the center and work outward to reduce fabric shifting.
4. Trim the Edges
Once quilting is done, square off the edges using a rotary cutter or scissors.
5. Finish the Edges
Choose one of two methods:
Turned Edge (Beginner-friendly):
With right sides facing, sew all around the mat with a ½" seam, leaving a 4" gap.
Turn the mat right side out, press, and topstitch around the edge to close the gap.
Bias Binding (More polished):
Bind the edges with pre-made or handmade double-fold bias tape.
Sew around the entire mat with a straight stitch.
Why This Project Is Great for Practicing with a Walking Foot
The DIY drying mat is an ideal starter project for using your walking foot. It involves quilting multiple layers—just like a basic quilt sandwich—which allows you to learn how your machine handles bulk while the walking foot keeps layers feeding evenly without puckering or bunching. You'll quickly build confidence working with more complex fabrics or quilting projects.
Part 2: What Are Feed Dogs and How Do They Help You Sew Better?
What Are Feed Dogs?
Feed dogs are the metal teeth under your presser foot that move back and forth as you sew. They pull the bottom layer of fabric through the machine, while your presser foot holds the top layer steady.
When working with multiple layers, like in your dish drying mat, or slippery or stretchy fabrics like knits, the feed dogs are essential for keeping your stitching smooth and even.
Using Feed Dogs for Quilting:
In your drying mat project, feed dogs:
Pull the terry cloth base through smoothly.
Work with the walking foot to prevent bunching.
Help stitch through all layers without shifting
Keep your feed dogs up and engaged while quilting or sewing straight seams.
Don’t lower the feed dogs unless you’re doing free-motion quilting or embroidery.
Part 3: How to Use Feed Dogs When Sewing Knits and Other Fabrics
Sewing knit fabrics requires extra care because they’re stretchy and prone to distortion. Here’s how feed dogs help—and how to optimize your sewing:
Why Feed Dogs Are Important for Knits:
They gently guide the fabric through, preventing it from stretching or wrinkling.
They work best when you don’t pull or tug the fabric from behind.
When paired with the right foot (like a walking foot), feed dogs ensure even feeding from top to bottom.
Best Practices When Sewing Knits:
Use the Right Needle
Choose a ballpoint or stretch needle to avoid damaging the knit fibers.
Use a Stretch Stitch or Zigzag
These stitches stretch with the fabric, reducing the likelihood of popped seams.
Adjust Presser Foot Pressure
If your machine allows it, lower the presser foot pressure slightly so the foot doesn’t press the fabric too hard against the feed dogs. This helps the knit glide smoothly.
Do Not Lower the Feed Dogs
Keep them engaged so they can pull the fabric evenly. Lowering them is only for free-motion sewing.
Consider Using a Walking Foot
This foot works with your feed dogs to move the top layer in sync with the bottom, especially helpful for knit hems and thick seams.
Most domestic sewing machines utilize a low-shank presser system, and this universal-style walking foot is compatible with the majority of popular brands.
Perfect for quilting, thick fabrics, or layered projects, such as DIY dish mats.
Universal Walking Foot for Low-Shank Machines
If you're quilting your drying mat or sewing through layers like cotton, batting, and terry cloth, a walking foot makes all the difference. It prevents fabric shifting, puckering, or uneven feeding—and it's precisely what I use on my machine.
This universal low-shank walking foot is compatible with most home sewing machines, including popular brands such as Singer, Brother, Janome, Baby Lock, and Kenmore.
It works with your feed dogs to pull all layers evenly—essential when working with thick or slippery materials.
Perfect for:
Quilting through layers
Sewing stretchy or slippery fabrics
Preventing uneven stitching
Tip: This is the same type of foot I use to sew my DIY dish drying mats—it makes the quilting step smooth and easy!
Click here to view the universal walking foot on eBay https://ebay.us/tjX7qv. This walking foot is available at an economical price, including shipping. It is a steal of a deal! I paid more for my walking foot.
Your DIY drying mat is not just a functional kitchen item; it’s also a great project for practicing layering and understanding how feed dogs and walking feet support your fabric. And whether you're sewing quilts, stretch tees, or terry cloth towels, knowing how your sewing machine moves fabric is the secret to confident, smooth stitching.
Budget Tip: Use Dollar Store Drying Mats as the Core Layer
If you’d rather not use valuable batting or cut up old towels, consider using an inexpensive drying mat from a Dollar Store as the middle layer of your DIY drying mat. These store-bought mats are usually thin and lightweight, but they make a great absorbent core when layered between your own top and bottom fabrics. You’ll get the functionality of a drying mat—plus a custom look and feel—with minimal expense.
Was this article informative and helpful?
If so, subscribe to my newsletter for sewing updates, project inspiration, and practical tips to help you succeed with every stitch you make.
You can subscribe below in the footer!
If you're looking for fabric to sew your drying mat, check out my fabric selections in my Sewing Shop!
I run this website using Hostinger. If you're starting your own site, use my referral link to get a discount.
Curated Sewing Goods Online – Based in the USA
Reach Out Contact Me
rhonda@theneedlemarket.com
Proudly powered by Hostinger
Start your own site with Hostinger

