Discover amazing discounts on sewing patterns-Fabric-Doll CLothes-eBooks-Yarn-& Other Handmades!
Sew A DIY Muslin Pillow Form
Learn how to sew your own muslin pillow form using polyfill and fabric scraps. A simple, cost-saving project for custom throw pillows.
DIY SEWING
7/1/20253 min read
Skip the Store-Bought Inserts and Make Your Own with Muslin and Polyfill
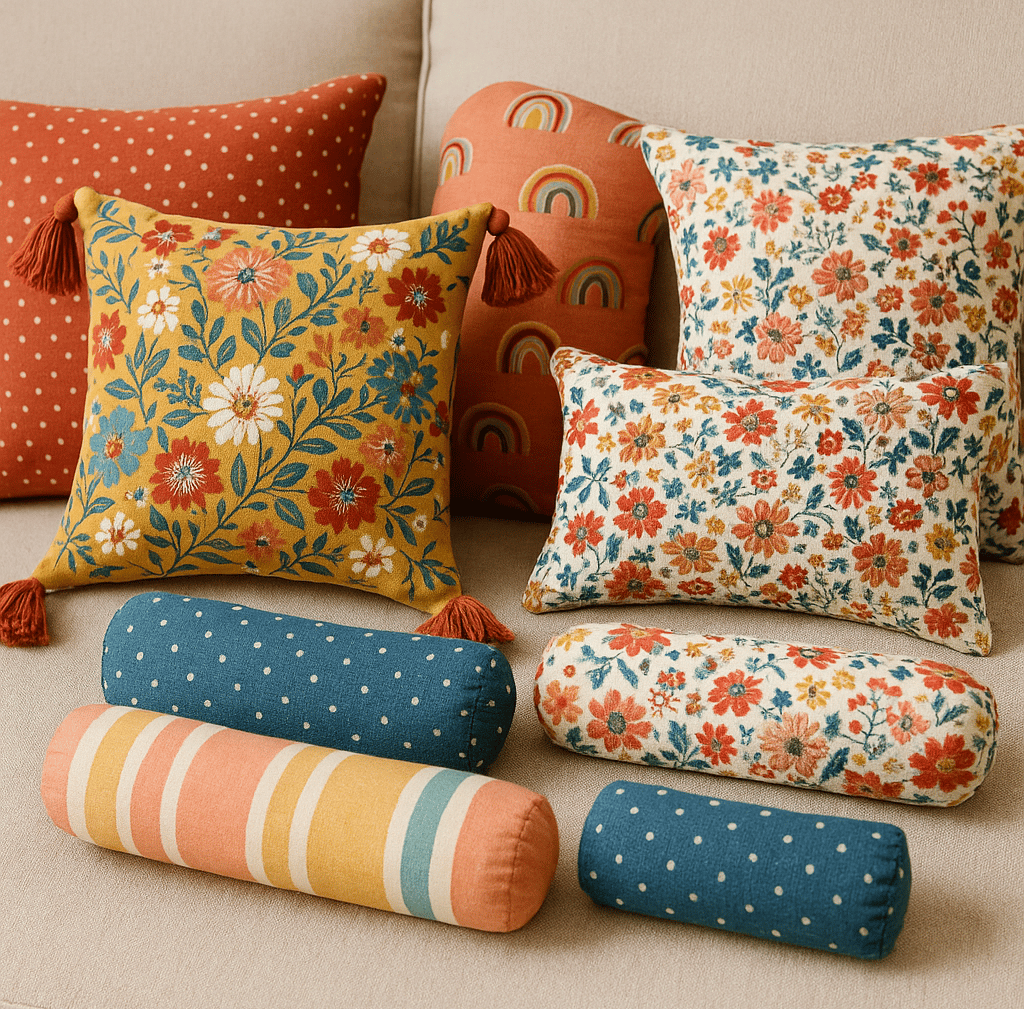
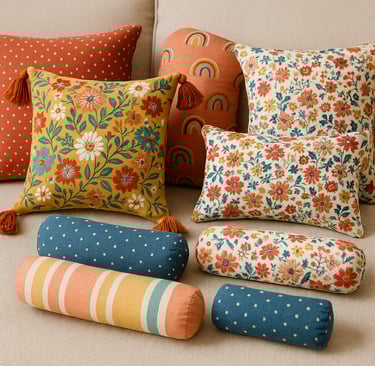
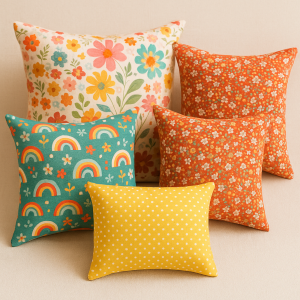
When you buy a sewing pattern for a throw pillow, it often lists “pillow form” as a required notion — but guess what? You don’t have to buy one. You can sew your own pillow form using inexpensive muslin fabric and polyfill stuffing, customized to your desired firmness.
Not only is it a money-saver, but it also gives you full control over how soft or full your pillow will be. Whether you’re sewing one throw pillow or a whole set, this is a smart way to stretch your sewing budget.
🧵 What Is a Pillow Form?
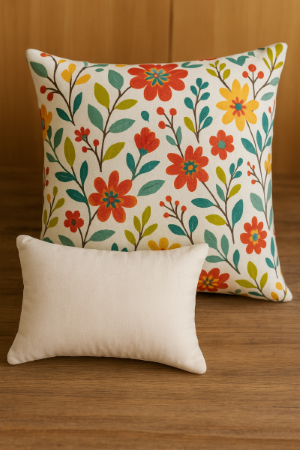
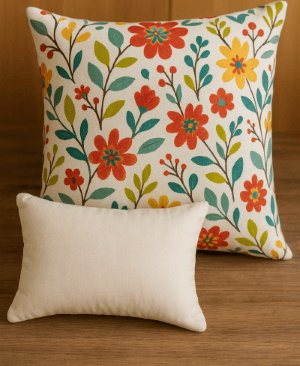
A pillow form is the inner cushion that gives shape to a decorative pillow. Store-bought pillow forms come in fixed sizes and firmness levels, but when you DIY it, you can match the exact measurements of your pattern and stuff it to your personal preference.
✂️ Materials You’ll Need:
Muslin fabric (or any inexpensive, tightly woven cotton, such as an old sheet or pillow case, around the house.)
Polyfill stuffing (or shredded fabric scraps)
Sewing machine or hand needle
Matching thread
Fabric scissors or rotary cutter
Ruler or measuring tape
Pins or clips
📏 How to Sew Your Own Pillow Form:
Measure your pattern
Use the finished size of the throw pillow pattern to determine your muslin form dimensions. For example, if the pattern is for a 16" x 16" pillow, cut two 16" squares of muslin.
Cut your muslin
Cut two matching pieces. No need to add seam allowance — the tightness helps give a nice plump shape once stuffed.
Sew around the edges.
Place right sides together (if there is a right side), and sew with a ¼" or ½" seam allowance, leaving a 3" opening on one side for stuffing.
Turn the right side out and fill.
Turn your form right-side out and fill it with polyfill or soft fabric scraps to achieve your desired firmness.
Close the opening
Use a ladder stitch or topstitch close to the edge to secure the pillow form.
🧺 Now Sew Your Pillow Cover:
Once your DIY muslin pillow form is ready, you can proceed to sew your throw pillow cover using the selected fabric and the provided pattern instructions.
For best results:
Add a zipper closure to make the cover removable and washable.
Or create a simple envelope-style back with overlapping panels, eliminating the need for a zipper and the associated expense.
🪶 Tip: Reuse & Upcycle
You can also reuse old bed pillows as stuffing by opening them and re-fluffing the fiber. Muslin pillow forms also work great for seasonal covers — switch the outer case and reuse the same insert!
There’s no need to spend extra money on store-bought pillow forms when you can DIY your own with basic supplies. A simple square of muslin and a bit of stuffing is all it takes. The result? A cozy, affordable throw pillow that’s 100% handmade — inside and out.
So, make a cup of tea and relish the fact that you've added to your home decor at minimal cost. Make guests wonder how you can afford such extravagant home decorations!
Enjoy your throw pillows and Happy Sewing!
Want a throw pillow sewing pattern to go with your new DIY pillow form?
Check out the Throw Pillow Pattern in my sewing shop — designed with simple steps and beautiful results in mind. It pairs perfectly with your handmade pillow insert!

Curated Sewing Goods Online – Based in the USA
Reach Out Contact Me
rhonda@theneedlemarket.com
Proudly powered by Hostinger
Start your own site with Hostinger

