Discover amazing discounts on sewing patterns-Fabric-Doll CLothes-eBooks-Yarn-& Other Handmades!
To Starch or Not to Starch – That Is the Question
Is spray starch necessary for sewing? Learn when and how to use starch for crisp, accurate results, the best products to use, homemade alternatives, and essential iron-cleaning tips to keep your sewing projects smooth and professional.
PRESSING AND STARCHING
Rhonda Harris
8/12/20253 min read
A Guide to Smart Starching and Iron Care for Sewists
At one point, spray starch was out of style. Water-spritzed pressing took over as the gentler option for prepping fabrics. But in recent years, spray starch has made a strong comeback among sewists, quilters, and crafters—and for good reason.
Whether you’re stabilizing fabric for precision sewing or giving crisp definition to pleats and seams, starch has a powerful role in fabric preparation. The question isn’t whether to use starch—it’s when, how, and what kind.
Why Use Spray Starch?
Starch gives fabric body, reduces stretching, and helps it hold its shape while cutting, pressing, or stitching. That’s especially useful when:
Working with lightweight or shifty fabrics
Sewing curves or bias edges
Quilting with pre-cuts like fat quarters
Precision-cutting appliqué pieces or garments
Pre-starching fabric before cutting keeps your measurements accurate and your seams crisp. The only time to avoid starch is when working with dry-clean-only fabrics or fabrics that could react to added moisture.
Recommended Spray Starches
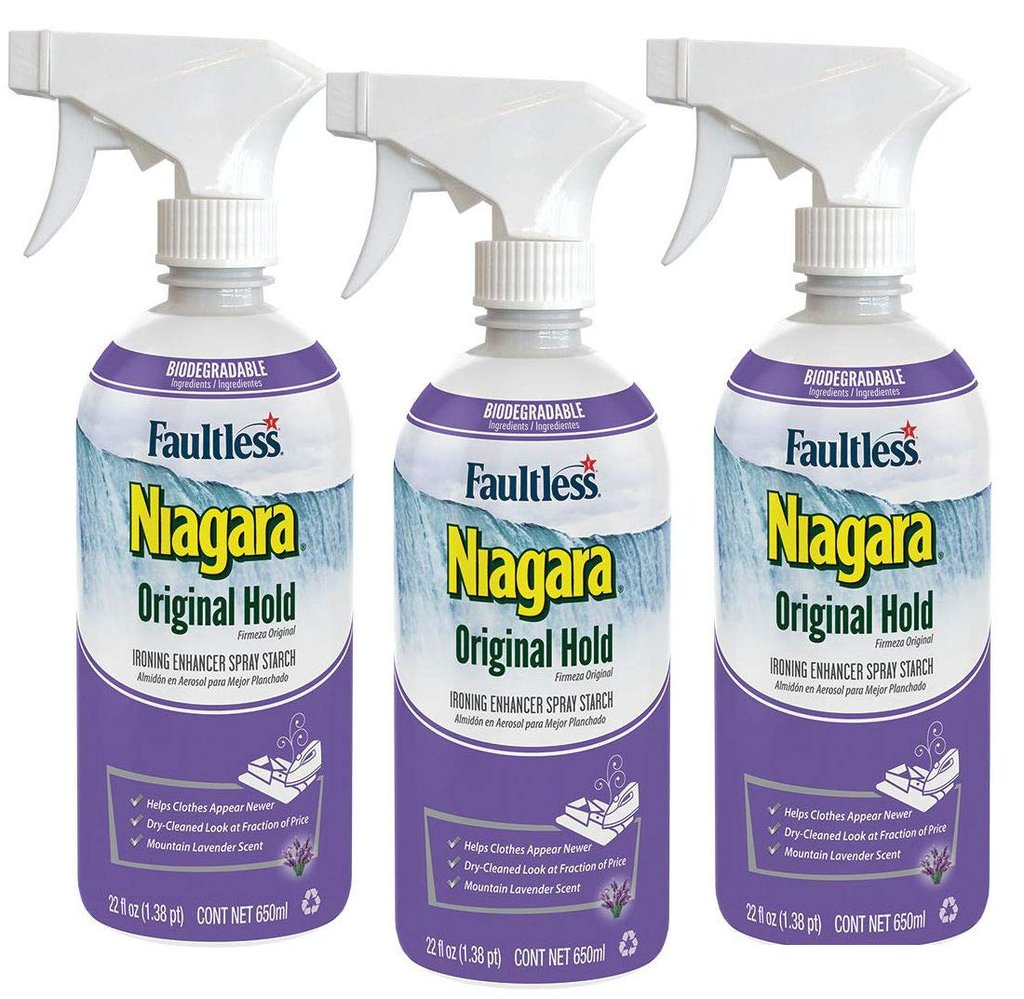
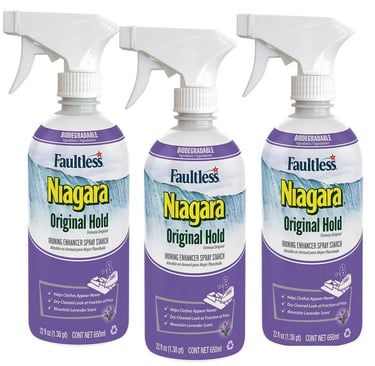
Magic Quilting & Crafting Spray by Niagara
Specifically made for sewing and quilting
Flake-free, scent-free, and comes in a pump bottle.
Helps fabric resist stretching during pressing.
Available at Amazon, eBay, or most fabric stores.
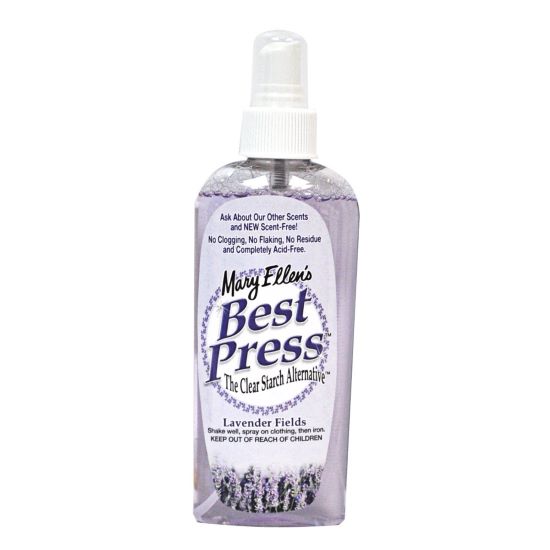
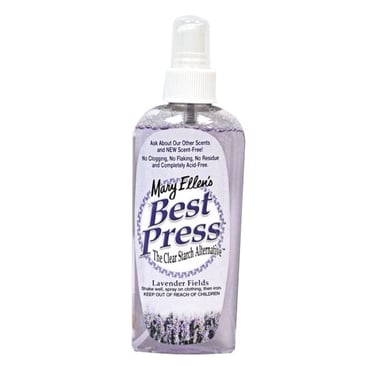
Mary Ellen’s Best Press
My personal favorite: no flaking, clogging, or residue—especially on dark fabrics
Contains a stain shield and helps resist wrinkles
Eco-friendlier than traditional starches
Comes in soothing scents like Lavender Vanilla, Cherry Blossom, Linen Fresh, and Citrus Grove
Best deals: often on eBay with free shipping
Tips for Starching and Pressing Fabric
Pre-starch before cutting
Always starch and press fabric pieces before cutting to stabilize them.
Spray from 8–10 inches away.
Mist the fabric lightly and evenly. Over-saturating can lead to stiffness or residue.
Smooth by hand before pressing
Flatten wrinkles with your hands first—your iron doesn’t have to do all the work.
Let the starch absorb
Give it a few seconds to soak into the fibers before you press.
Press in the direction that resists stretch
Press with the grain (lengthwise) rather than across or on the bias to avoid distorting your fabric.
Use aerosols for fast prep.
Ideal for efficiently prepping stacks of fat quarters or quilting cottons.
Saturate when needed
Spray closer for a stiffer effect—ideal for collars, cuffs, or fabric crafts.
How to Tell Fabric Grain Without a Selvage
Tug gently on the fabric to find which direction stretches most (usually the width or bias). The direction with least stretch is the grain—press in that direction to maintain fabric shape.
Caring for Your Iron
All this pressing means your iron needs maintenance, too. A clean iron performs better, lasts longer, and avoids damaging your fabrics.
How to Clean Your Iron’s Soleplate
Baking Soda Paste Method
Unplug and cool the iron.
Mix two tablespoons of baking soda with one tablespoon of water.
Apply with a plastic spatula.
Wipe with a damp cloth.
Steam a rolled towel with distilled water to clear the vents.
Hot Iron Cleaner (by Faultless)
Use on a hot iron.
Apply 2" of cleaner to a cotton terry towel.
Rub in circles to lift residue.
Wipe clean on a fresh section of the towel.
How to Clean the Inside of Your Iron
Mix ¼ cup white vinegar + ¾ cup distilled water.
Fill the iron’s tank.
Steam several times to flush the buildup.
Use cotton swabs to clean steam vents.
Rinse the tank with distilled water.
Do this monthly to prevent buildup, just like with a coffee maker!
Make Your Spray Starch
If you're thrifty or avoiding commercial starch, here’s a DIY recipe:
Homemade Spray Starch
1½ tbsp cornstarch
2½ cups distilled water
Instructions:
Whisk until smooth and lump-free.
Simmer for 1 minute until slightly thickened.
Cool completely.
Transfer to a spray bottle and shake before each use.
This natural alternative works well for general sewing and craft use!
The Power of a Proper Press
Starching and pressing may seem like small steps, but they have a significant impact on the outcome of your sewing. Whether you’re quilting, tailoring, or crafting, starch helps you sew with precision, and a clean iron makes all the difference.
Did you find this article informative and helpful? If so, subscribe to The Needle Market below in the footer for more sewing and pressing tips to make your sewing life easier and happier! Also, check my sewing shop for the latest uploads of sewing patterns, fabric, ebooks, and handmades!
Curated Sewing Goods Online – Based in the USA
Reach Out Contact Me
rhonda@theneedlemarket.com
Proudly powered by Hostinger
Start your own site with Hostinger